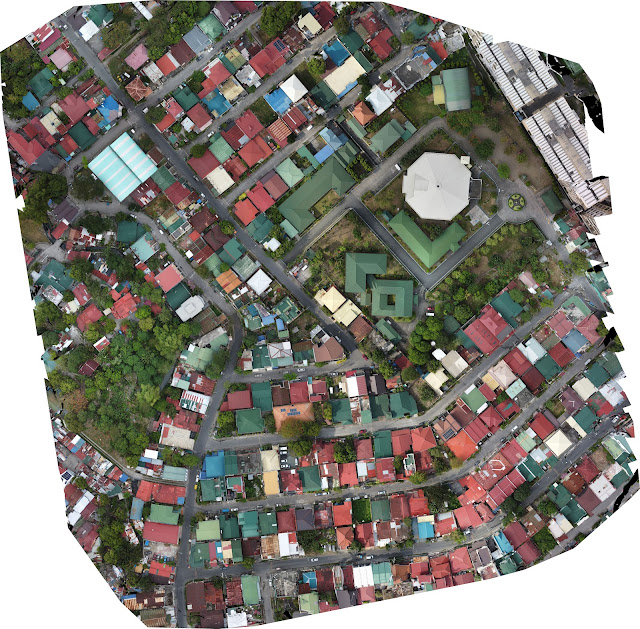
Creating Orthomosaic Using Drone Images
In this article we will create an orthomosaic using drone images which can be used as an aerial view map of an area you intend to capture.
Just click next for the next 2 windows.
The tiff file should be located where you created your project in the new project window. For example in this project D:\LARZ\Documents\pix4d\sav6\3_dsm_ortho\2_mosaic
First of all, we need a drone that uses GNSS (Global Navigation Satellite System) for the aerial survey. You can use most DJI drones depending on the mapping apps that you're going to use.
Here are the mobile apps which can be used for mapping:
- DJI GS Pro
- Pix4D
- Map Pilot Pro
- Drone Deploy
- UGCS
- DJI Pilot 2
These are the common settings which we can find in mapping apps:
GSD: also known as Ground Sample Distance is usually measured in cm/pixel. Lower numbered GSD means better resolution and quality of images. Numbers less than 3cm/px are a good starting point. Also, flying height dictates the gsd resolution, higher altitude = high gsd.
Flight Height or Altitude: This will determine the gsd of your project. 60-120m (200-400ft) should be good altitude depending on how large the area you are going to survey. For small areas (around 10-50hectares), you can fly as low as 60-80m to get a better quality of your orthomosaic. For larger areas (50hectares or 120acres above), we can fly 80-120m to cover more areas on a single flight.
Overlap Percentage: This setting will determine how much part of an image overlaps the next image. More overlapping parts mean better output result. 70-80% overlap should be enough for good result of your project. Also, this setting will determine how many images will be captured in a single flight and how long the flight is going to be. Lower percentage means less images and faster mission completion.
After data acquisition or image capture, we can now gather all the images and process it on a mapping software like Pix4DMapper.
First, we create new project in Pix4DMapper
On the next window we will select all the images captured by the drone. You can also drag and drag the images inside the box.
Click finish and the processing window should appear.
Select steps 1 & 3 then click start to process your images.
After processing, you should be able the generated orthomosaic.


Comments
Post a Comment